WILLIAMS BAY
We recently completed a fixer upper in the beautiful town of Williams Bay, Wisconsin. If you’re not familiar, it’s a sweet, small town that sits right on Lake Geneva. The 2,700 sqft house was built in 1988 and needed a complete overhaul, but mostly cosmetic since the structure and layout were solid. Here’s the high-level punch list, which took us six weeks to complete:
- New paint throughout interior
- New flooring throughout
- Update screened-in-porch
- Update kitchen
- Update all three bathrooms
- New interior doors
- Update lighting (interior & exterior)
- Exterior: Paint, update columns, create new walkway, light landscaping (we were heading into winter)
DESIGN ELEMENTS

PAINT
I painted just about every wall Benjamin Moore’s White Dove to provide a bright, neutral, and clean backdrop. Color in a home is a very personal choice, and since this was a flip house, not knowing the likes and dislikes of the future home owners, a good white or soft gray is a great foundation for getting creative with the décor. The white walls also provide balance to the warm wood tones of the floors, doors and trim throughout the house.
FLOORS
The original plan was to refinish the existing wood floors on the main level and replace the old carpet with wood floors to match, or at least blend in. After three different flooring companies stopped by to provide an estimate, not one of them would take it on. The existing floors were engineered wood, too thin to sand and refinish, with a handful of really warn areas that wouldn’t improve with a light buffing, which was all they’d be able to do. The planks also had a small groove in between them, which didn’t match (or blend with) any new floors on the market. Rats! So, we went with plan B and replaced everything – wood floors and carpet – with solid oak planks. It was expensive, but they turned out beautiful! We used a natural low-sheen finish, so they’d coordinate with the existing wood trim and doors.
We ended up replacing the flooring throughout the entire house except for the upstairs hall bathroom. At least we saved that! When you walk through a house that’s still furnished you don’t get the opportunity to see what’s underneath all that furniture…and it may surprise you when you do the final walkthrough in an empty house. Yuck.
ENTRY / DINING / LIVING / FAMILY ROOMS
The dining, living and family rooms were all carpeted, and it was old, stained, assorted color carpeting. New wood floors in these rooms, the entry and kitchen helped tie the rooms together and visually expand the space.
The stairs got a makeover with new paint and a chic striped stair runner. For instructions on how to DIY your own stair runner, read the Installing a Stair Runner post below.


Each of these rooms got a fresh coat of paint, including the wood paneling in the family room. I love the texture of the paneling, but it made that room dark and sad. We kept the original stone fireplace and simply replaced the mantel with an authentic barn beam found locally, and painted the brass doors with Rust-oluem High Heat black paint.


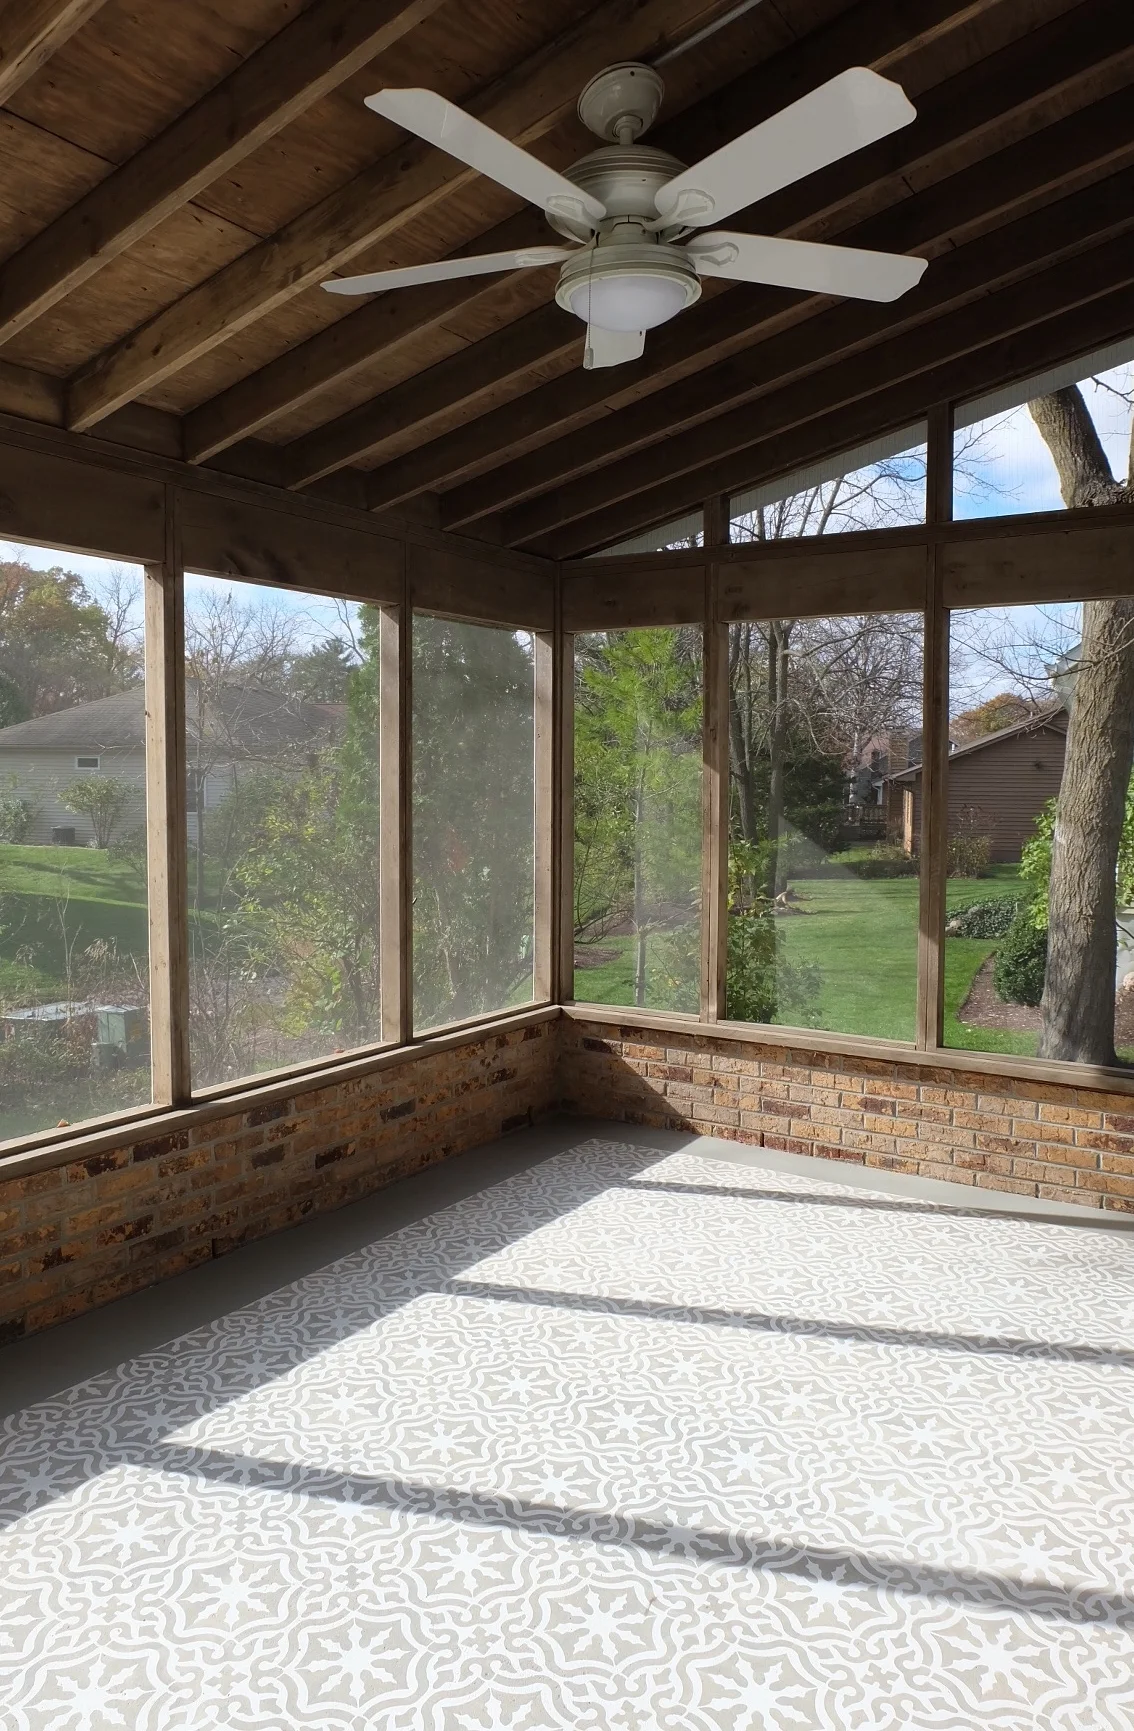
SCREENED-IN-PORCH
Every house should have a screened-in-porch! It’s my favorite “room” in this house. The walls were in great shape and didn’t need any work, so we focused on the floor. The budget didn’t allow for the beautiful cement tiles I had my eye on, so I went with a budget-savvy solution and stenciled the floor. For words of encouragement on how you, too, can do this, read the Stenciled Porch Floor post below.


KITCHEN
The kitchen layout worked well, and the cabinets were in decent shape, so we kept the lower cabinets, painted them, and replaced the uppers. I was hoping to remove the soffit ceiling to create more upper cabinet space, but the upstairs plumbing ran through it, so it stayed. New quartz counters, a marble herringbone backsplash, all new lighting and appliances freshened up this space.


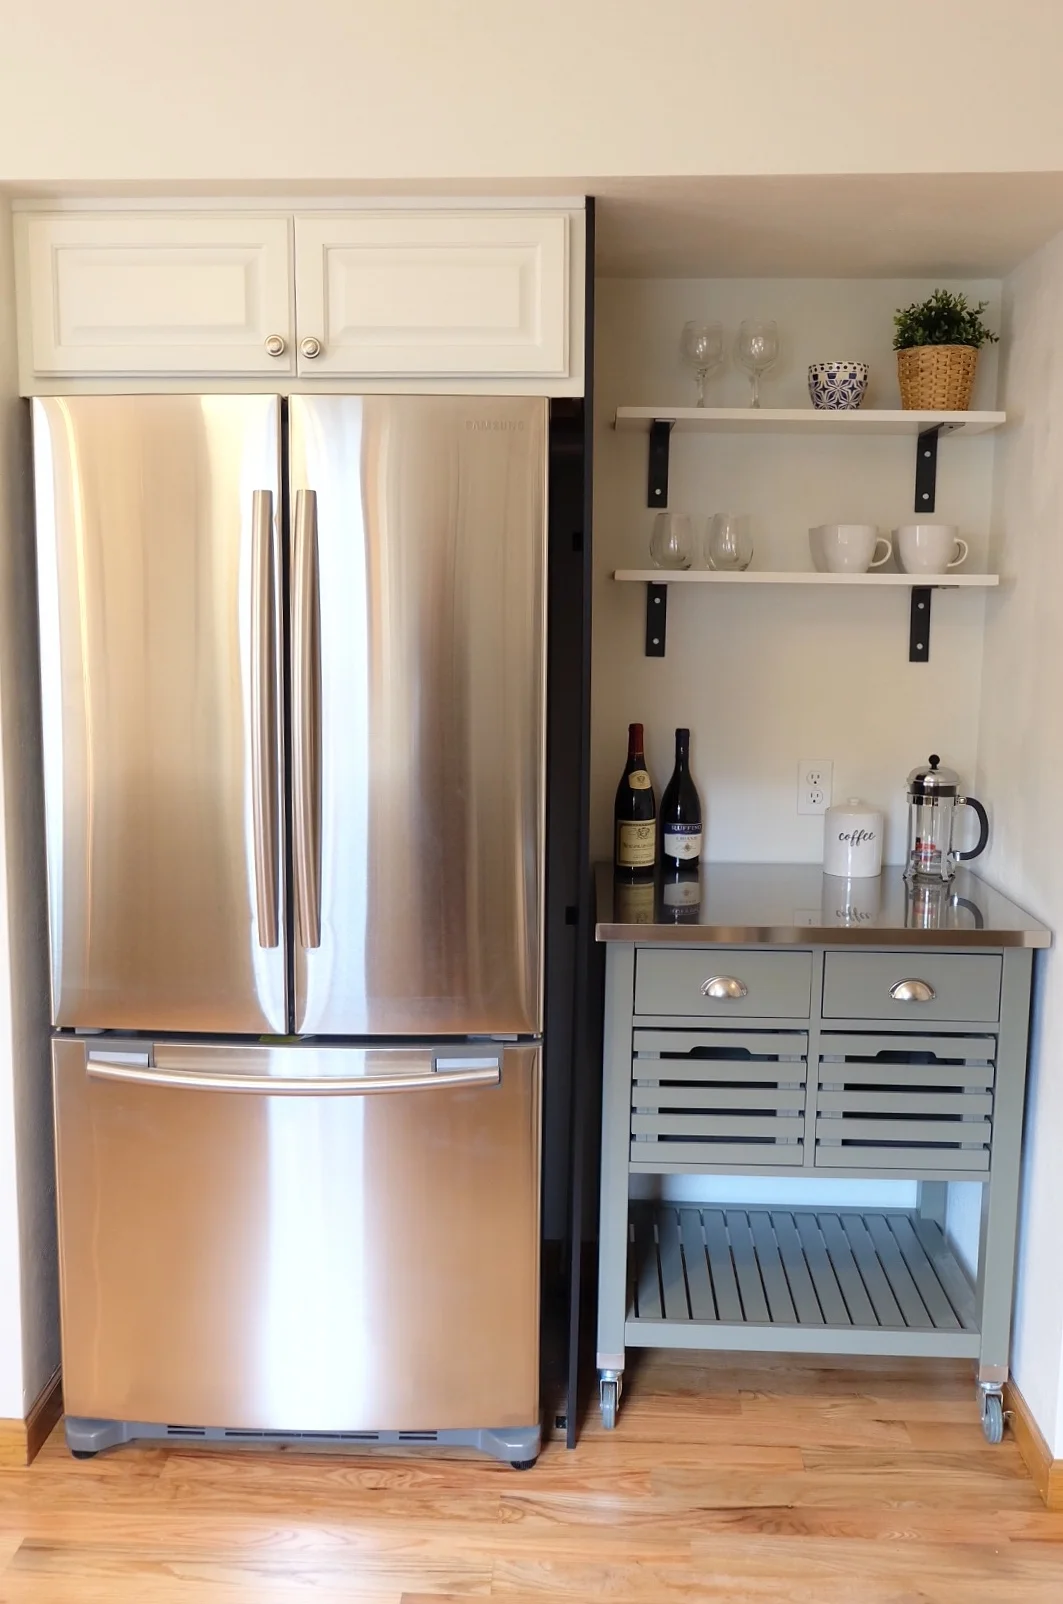
We removed the desk/microwave situation next to the refrigerator, and rather than spending thousands of dollars on a custom, built-in cabinet, I found a kitchen cart for that space, which can be rolled out into the kitchen as needed for extra prep space, serving space, etc. Such a great, functional solution at a fraction of the cost! I color-matched the lower cabinets to the kitchen cart so it looks intentional and coordinated.


BATHROOMS
The layout of the first floor and upstairs hall bathrooms functioned well, so while these rooms were gutted, the updates were all cosmetic. The previously dark and outdated bathrooms are now bright and inviting spaces.


The master bathroom was a different story. Here, we reworked the layout to open up the space, provide more storage and a large shower. (The glass shower enclosure wasn't installed at the time of these photos.) I absolutely adore these gold leaf mirrors! I used the same color scheme and materials in all three bathrooms to provide continuity throughout the house.


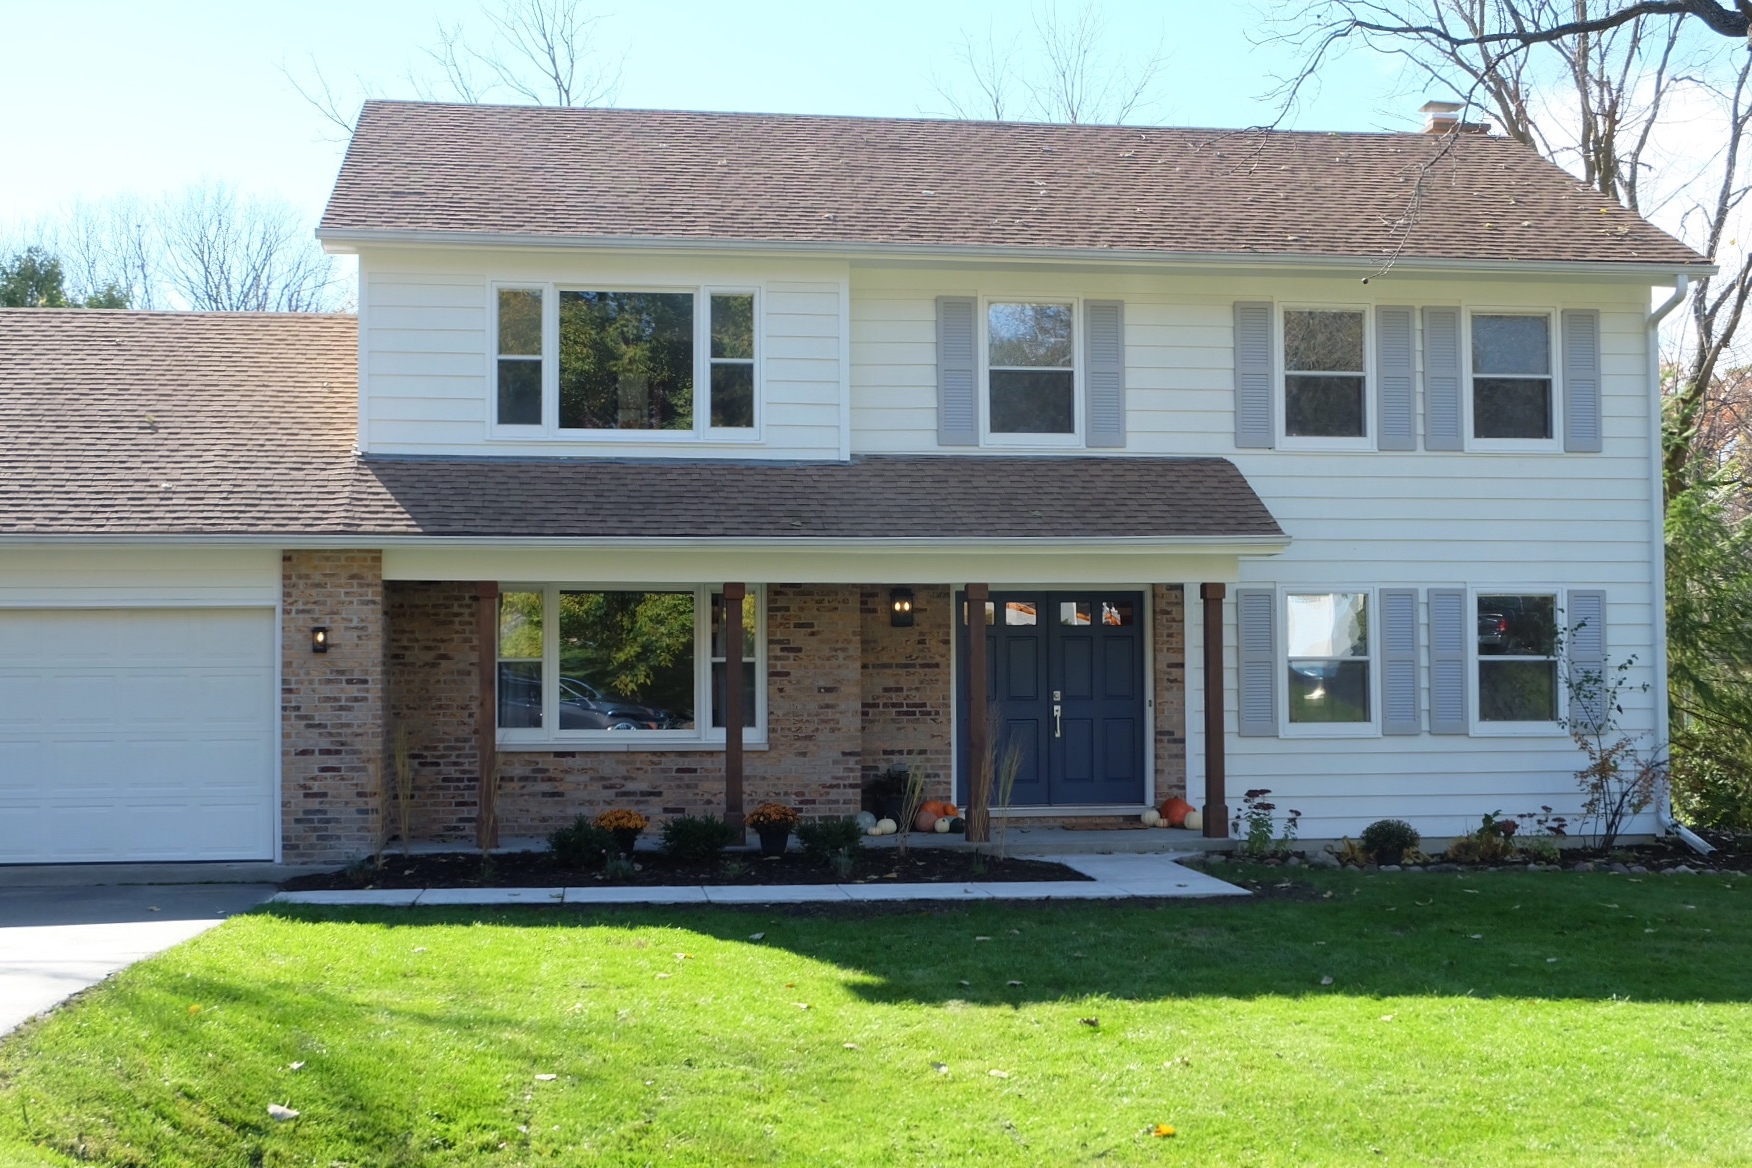
EXTERIOR
The exterior of the house needed very little repair. All new paint, updated columns, new lighting and a new walkway added some much needed curb appeal. Landscaping was minimal since we were heading into winter. What about that upper left window, you ask? After we finally tracked down a matching pair of shutters, they were painted and installed after I was back home in Denver.


As flip houses go, this one taught us a lot! I’m excited for our next project and more lessons learned.